
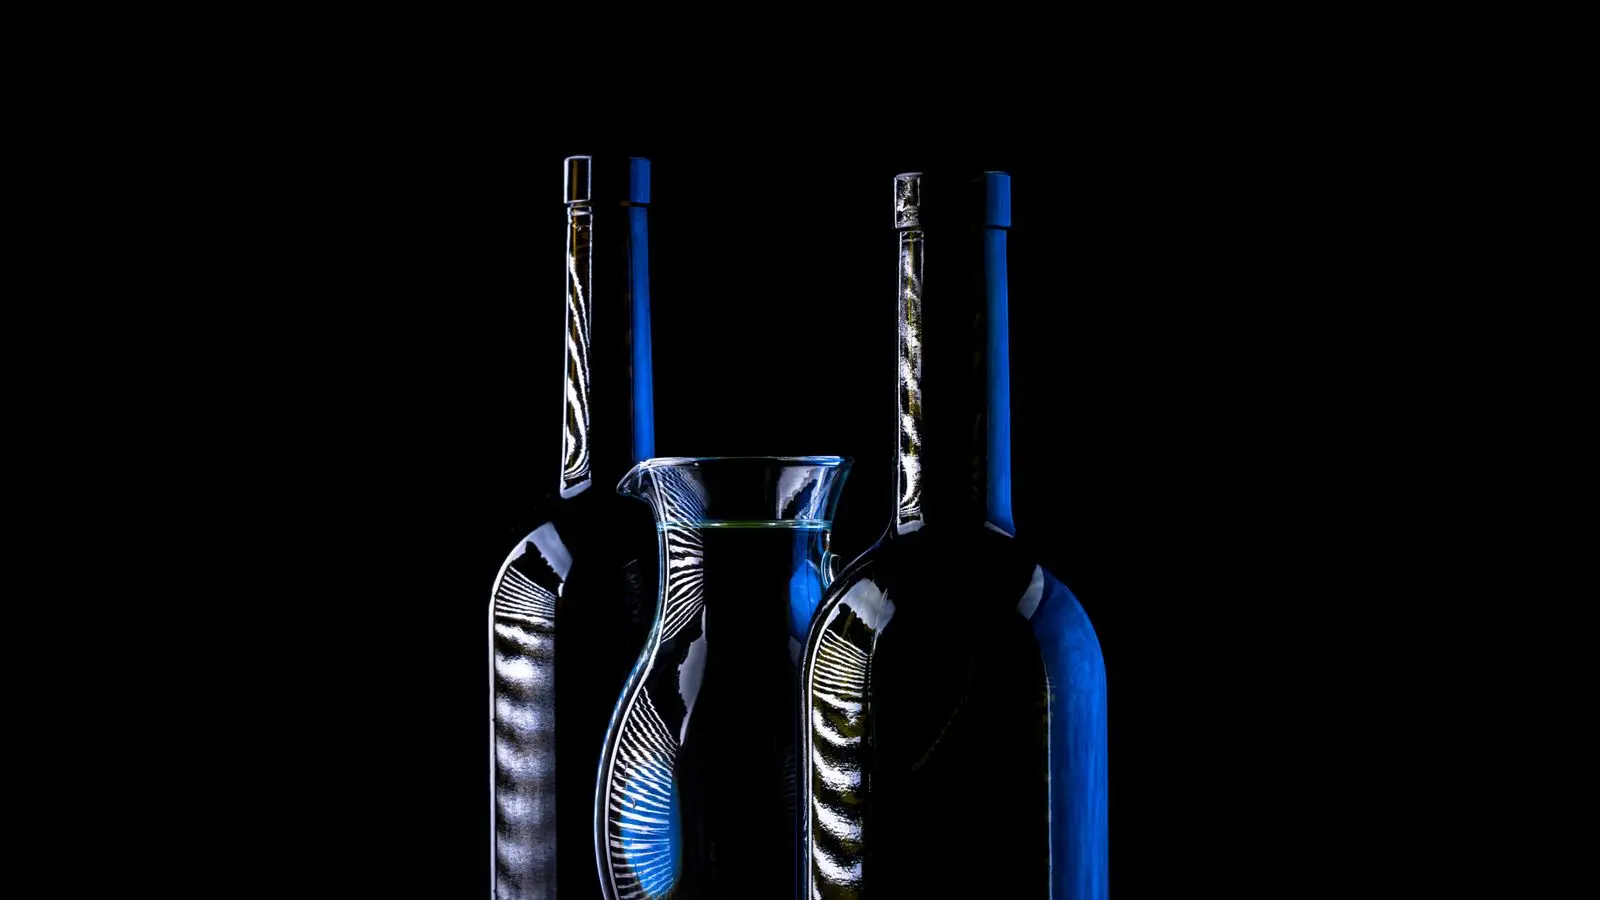
Learning how to photograph glass products means unlearning the one rule that works for everything else: light the product. Glass has almost nothing to light. It is a shape made of what passes through it, and if you point a softbox at it you get a picture of your softbox.
That matters commercially for a reason most photography guides skip. On a glass shelf, a shower panel, an acrylic display case or a bottle, the buyer's next question is a measurement — how thick, how wide, how tall. You cannot put a dimension label on an edge that is not visible in the photo. Every choice below is made to keep the edges readable, because the edge is the part the spec depends on.
How to photograph glass products, in one paragraph
Here is the short version, for anyone who came for the answer rather than the theory. To photograph glass products, light the background instead of the product, choose a lit white backdrop for thin glass and a black backdrop with grazing side light for thick glass, flag the front of the set with black boards so the vertical surfaces have something dark to reflect, add a polarising filter at roughly 56 degrees off perpendicular for reflections you cannot flag away, shoot between f/5.6 and f/11 with focus on the near edge, and retouch only the outer silhouette. Everything below is why each of those works and where it breaks.
Why glass breaks the normal setup
An opaque product is seen by the light bouncing off it. A transparent product is seen by the light that bends through it and by the light that skims off its surfaces. So the subject of a glass photograph is not the glass — it is the background, seen through and around the glass.
That single reframe fixes most beginner problems. Once the background is the light source, the glass draws itself: thick sections go darker because more light is absorbed and refracted away, thin sections stay bright, and the boundary between them becomes a visible line.
The physics also sets a hard limit you cannot edit around. Reflections from a non-metallic surface are strongly polarised, and they peak at a specific angle. For a glass medium with a refractive index of about 1.5 in air, Brewster's angle for visible light is approximately 56 degrees, calculated as the arctangent of the ratio of the two refractive indices. Light reflecting at that angle is entirely polarised perpendicular to the plane of incidence — which is exactly the condition a polarising filter is built to remove.
Step 1: Decide which edge has to survive
Before anything is plugged in, write down the one or two dimensions a buyer will ask about. For a glass shelf it is thickness and length. For a shower enclosure it is panel height and the door opening. For a bottle it is height and the diameter at the widest point. If you sell flat glass, the reference band for what buyers expect is on the standard glass thickness page.
That decision drives the camera angle, because an edge only reads when it is roughly perpendicular to the lens axis. Thickness photographed straight-on is a hairline you cannot label. Thickness photographed with the sheet turned 15 to 25 degrees becomes a band wide enough to carry a number.
Step 2: Pick a background, and commit
There are two setups that work, and they are opposites. Product photographers usually call them bright field and dark field — trade names, not standards, but the descriptions are worth memorising because they behave in exactly opposite ways.
| Setup | What you build | How the edge appears | Best for |
|---|---|---|---|
| Bright field | Lit white background behind the product, product unlit from the front | Dark outline on white — the edge is a shadow line | Clear glass, thin-walled bottles, white-background marketplace images |
| Dark field | Black background, light skimming in from the sides and behind, out of frame | Bright outline on black — the edge is a highlight | Thick glass, chamfers, cut edges, coloured or frosted glass |
The rule of thumb: if the glass is thin, outline it dark; if the glass is thick, outline it bright. Thick glass on a bright field turns into a grey smudge because the volume of material swallows the light. Thin glass on a dark field disappears because there is not enough material to carry a highlight.
If you need a pure white background for a marketplace main image, that is bright field. Do not fake it by lighting the glass from the front and then cutting it out later — the cut-out step is where edges die.
Step 3: Light the background, not the product
Point the light at the backdrop, not at the glass. One light through a large diffusion panel behind the product produces the cleanest bright field; the panel needs to be wider than the product on every side or the glass will show the panel's edges as a bright rectangle inside itself.
Two field-tested adjustments:
- Move the product forward, away from the backdrop. A metre of separation lets the background go evenly bright without spilling light onto the front surfaces of the glass.
- Flag the front. Black foam board on both sides of the camera, just outside the frame, gives the vertical surfaces of the glass something dark to reflect. Those dark reflections are what read as edges.
Side lighting is the standard recommendation for metal and clear or coloured glass, on the reasoning that reflections are less noticeable along the edges of the product, and white foam boards placed opposite a light are the usual way to lift a shadowed side. Both are cheap and both work. What does not work is adding lights until the reflections go away — every light you add is one more object for the glass to photograph.
Step 4: Remove the reflections you cannot light away
Some reflections survive any lighting arrangement, usually the ones from your own room. This is what a polarising filter is for: in photography a polarising filter can be used to filter out reflections, and circular polarisers are used specifically to reduce oblique reflections from non-metallic surfaces.
Two consequences people get wrong:
- The angle matters more than the filter. A polariser is most effective near Brewster's angle, roughly 56 degrees from the perpendicular for glass. Shooting straight at a pane and rotating the filter will do very little. Move the camera until the reflection weakens, then rotate.
- It does nothing for bare metal. Reflections from conductive surfaces are not polarised the same way, so a chrome frame around your glass panel will not clean up. Metal needs a different approach entirely, which is covered in how to photograph reflective metal products.
For a stubborn hotspot on a non-visible face, a matting spray can temporarily dull the surface. Use it on packaging or on faces that are cropped out, never on a face whose clarity is the selling point.
Step 5: Get the whole depth sharp
A glass object is deep in a way an opaque one is not — you are focusing through it. An aperture between f/5.6 and f/11 is the working range that keeps an entire product in focus without pushing into diffraction. Focus on the near edge of the piece, not the middle, because the near edge is the one carrying the dimension.
Shoot tethered or check at 100% on the back of the camera. An edge that looks crisp on a phone screen can be two soft pixels at full size, and a soft edge is an unlabellable edge.
Step 6: Retouch without erasing what you came for
The single most common way a good glass photograph is ruined happens after the shoot. An automated background removal tool sees a transparent object, decides the middle of it is background, and eats the interior — or it clips the edge by two pixels and the thickness you spent an hour lighting is gone.
- Clean dust and fingerprints, keep the refraction.
- Never apply a hard outer stroke or a border to "define" the shape. Google's Merchant Center specification explicitly lists borders around the image among prohibited content, alongside watermarks, logos, barcodes, promotional text and blurry or low-resolution images.
- If you must cut out, mask the outer silhouette only and leave the interior untouched.
Step 7: Export to the spec the channel actually publishes
Google's Merchant Center image requirements are the most transparently documented of the major channels and make a reasonable floor for everything else: images must be at least 500 x 500 pixels, with 1500 x 1500 or above recommended, up to 64 megapixels and a 16 MB maximum file size, in JPEG, WebP, PNG, GIF, BMP or TIFF. The same guidance says the product should occupy no less than 75% but not more than 90% of the full image, on a solid white or transparent background.
That 75 to 90 percent band is the one to watch when you plan to add measurements. Fill the frame to 90% and your dimension arrows have nowhere to sit; land near 75 to 80% and you have a clean margin for leader lines without falling below the minimum product size.
Turning the photograph into something a buyer can measure against
A well-lit glass photo shows that an edge exists. It does not tell anyone how long it is, and for glass and panel products that is the entire pre-sale conversation. This is the step where the photograph becomes a spec diagram.
Two things have to be true for it to be worth doing. The number has to be the measured one, and the label has to sit on the edge it describes rather than floating in a corner. Tools that snap a measurement to the detected edge of the product — so the printed value comes from the geometry of the image rather than someone's estimate — and then export at each channel's required pixel size make this a two-minute step per SKU. It is worth being blunt about the alternative: an AI image generator will produce a beautiful render with "8 mm" written on a panel it never measured, and a confidently wrong number on a product image is a returns and disputes problem, not a design problem.
The conventions for what to label on glass and mirror — thickness, edge treatment, tolerance, cut size versus finished size — are set out in label glass and mirror dimensions for export. If you are producing these at catalogue scale for architectural or panel products, the building material spec diagram format is the one buyers in that trade expect.
Glass product photography checklist
Run this every time. Most of the ways to photograph glass products badly are omissions, not mistakes.
- The dimension a buyer will ask about is decided before the camera comes out
- That edge is turned 15 to 25 degrees off perpendicular so it reads as a band
- Bright field for thin glass, dark field for thick or cut glass — not both in one image
- Light points at the background, never at the front of the product
- Diffusion panel is wider than the product on all sides
- Black flags outside the frame on both sides of the camera
- Polariser rotated at roughly 56 degrees off perpendicular, not head-on
- Aperture between f/5.6 and f/11, focus on the near edge
- Checked at 100% — the edge is sharp, not two grey pixels
- No border, watermark or promotional text added in retouching
- Product fills 75 to 90% of the frame, leaving room for leader lines
- Exported at 1500 x 1500 or larger, under 16 MB
FAQ
How do you photograph glass without reflections?
You do not remove reflections, you choose them. Anyone learning how to photograph glass products starts by trying to eliminate every reflection and ends up with a flat grey object. Light a background rather than the product, flag the front of the set with black boards so the vertical surfaces reflect something dark, and use a polarising filter at roughly 56 degrees off perpendicular for anything still showing your room. A completely reflection-free glass photo also looks like nothing — the controlled reflections are what tell the eye the material is glass.
What background is best for transparent products?
White if the glass is thin, black if it is thick. A lit white background produces a dark outline that defines thin walls; a black background with grazing side light produces a bright outline that survives through thick material. Marketplace main images generally require white or transparent, so thick items often need a white version for the listing slot and a black version for the detail slots.
Do I need a polarising filter to photograph glass?
Not always, but it is the cheapest fix for reflections you cannot flag away. It works because reflections from non-metallic surfaces are polarised, which is also why it will not help with a chrome or stainless frame in the same shot. If you shoot glass regularly, buy the filter before you buy another light.
Why does my glass product look grey instead of clear?
Usually too much material against too little background light, or the background is too close. Move the product further from the backdrop, raise the backdrop's brightness, and check whether the piece is thick enough that dark field would serve better. A grey result on bright field is the standard symptom of thick glass in the wrong setup.
What resolution should product photos be?
Follow the strictest channel you sell on. Google's published floor is 500 x 500 pixels with 1500 x 1500 or above recommended, a 64 megapixel ceiling and a 16 MB file size limit. Shooting and archiving well above the floor costs nothing and means you can crop for any channel later without going soft.