
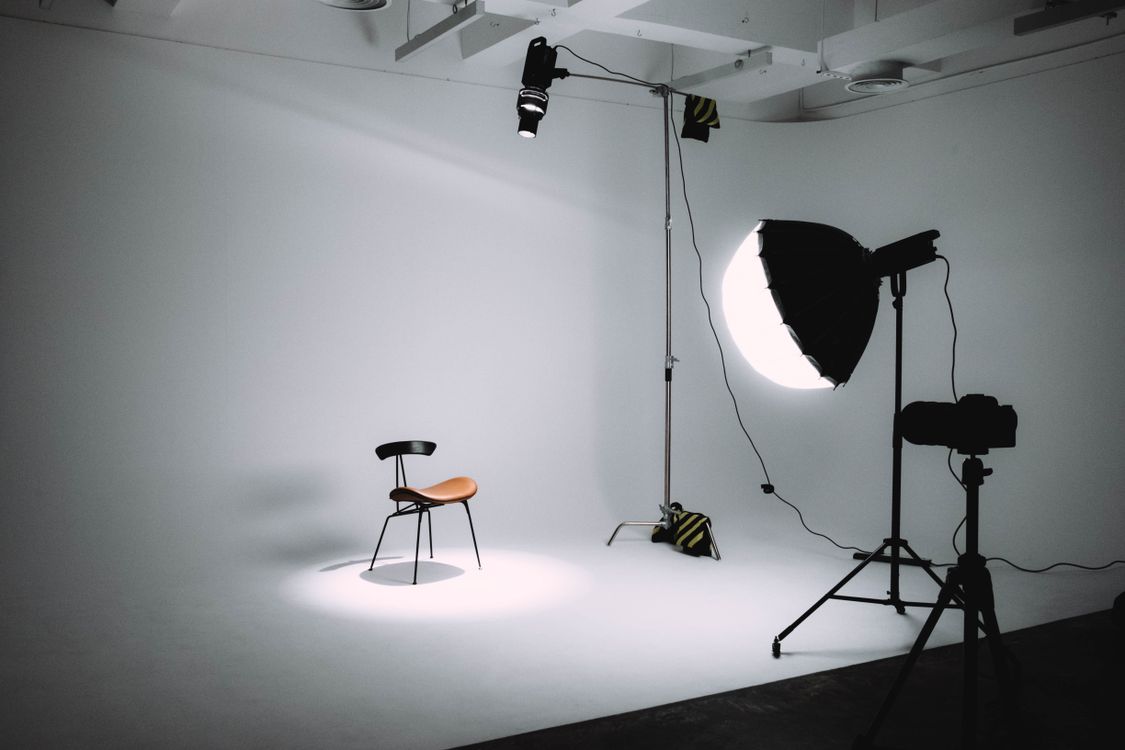
How to photograph large furniture in a small space is a geometry problem before it is a lighting problem. The wall behind you sets your maximum camera-to-product distance, that distance sets your focal length, and the focal length decides whether a buyer looking at your 2.2 m sofa reads it as balanced or as a cartoon with a giant near armrest. Most workshop shoots go wrong at that first step and get "fixed" with lighting afterwards, which fixes nothing.
This is the shoot order I would run in a room you cannot change, with the arithmetic you need before you touch a camera.
How to photograph large furniture in a small space starts with working distance
Working distance is the gap between the camera and the front of the product, and it is fixed by one line of geometry: distance = focal length × frame width ÷ sensor width. Nothing about that is negotiable by technique.
Two real numbers plug into it. A full-frame sensor is 36 mm wide. And Amazon's image guide requires the product to fill at least 85% of the frame, so the frame you need is the product width divided by 0.85.
Camera-to-product distance for an 85%-fill horizontal shot, full-frame or 35 mm-equivalent focal lengths:
| Product width | 24 mm | 35 mm | 50 mm | 85 mm |
|---|---|---|---|---|
| 900 mm (armchair) | 0.71 m | 1.03 m | 1.47 m | 2.50 m |
| 1,200 mm (cabinet, door panel) | 0.94 m | 1.37 m | 1.96 m | 3.33 m |
| 1,800 mm (dining table, sideboard) | 1.41 m | 2.06 m | 2.94 m | 5.00 m |
| 2,200 mm (three-seat sofa) | 1.73 m | 2.52 m | 3.59 m | 6.11 m |
| 3,000 mm (sectional, wardrobe run) | 2.35 m | 3.43 m | 4.90 m | 8.33 m |
Three adjustments before you use it:
- Crop sensors: multiply the number printed on the lens by 1.5 (APS-C) or 2 (Micro Four Thirds), then read that row. A 35 mm lens on APS-C behaves like roughly 53 mm.
- Phones: the main camera on most phones is around a 24-26 mm equivalent, so read the 24 mm column. The telephoto module, where one exists, usually lands between the 50 mm and 85 mm columns.
- Portrait orientation: you are now framing against the sensor's 24 mm height, so multiply the distance by 1.5. A 2.0 m wardrobe shot vertically at 35 mm needs about 3.4 m, not 2.3 m.
Then add the rest of the room: total length needed = working distance + product depth + about 0.7 m behind the camera for you and the tripod. A three-seat sofa at 35 mm therefore wants roughly 2.5 + 0.9 + 0.7 = 4.1 m of clear floor. Measure that before you book anything.
Step 1: Measure the room, then choose the lens
Do it in this order and the rest of the shoot gets easier. Tape-measure the longest clear run in the room — usually diagonal storage, not the wall you assumed. Subtract 0.7 m for the camera position. Subtract the product depth. What is left is your working distance, and the table above tells you the longest focal length that fits.
Longest, not widest. In a small room the instinct is to grab the widest lens available so everything fits, and that instinct is what makes furniture look wrong.
Step 2: Understand what a wide lens actually does to a sofa
Focal length controls angle of view and magnification, and it changes how near and far objects relate to each other in the frame: wide lenses exaggerate the distance between things, telephoto lenses compress it. On a sofa shot from 1.7 m at 24 mm, the near armrest is around 1.7 m from the sensor and the far armrest may be 2.6 m away — a 50% difference in distance, which the image renders as a 50% difference in apparent size. The buyer does not think "wide lens." The buyer thinks the arms do not match.
That is a different failure from lens distortion, and worth separating: barrel distortion bends straight lines, while what ruins furniture shots is perspective, which is purely a function of where you stood. We covered the distinction and the fixes in perspective distortion in product photos.
Practical floor: for a full-product hero of a large piece, treat 35 mm equivalent as the widest acceptable, and get to 50 mm whenever the room allows.
Step 3: Square the camera to the product, and keep it level
Two alignment errors do more damage than any lighting mistake:
- Rotating the product to steal distance. Turning a sofa 45 degrees does buy you framing room, but now the two ends sit at different distances from the sensor and the far end shrinks. If you shoot a three-quarter angle, shoot it because you want it, not because the room forced it — and shoot a square-on frame as well.
- Tilting the camera up or down. Tilt makes vertical edges converge, so a wardrobe looks tapered. Keep the sensor plane parallel to the product's front face, set the camera at roughly one-third to one-half of the product's height, and let the crop handle the composition.
A spirit level app on the camera or phone and a strip of tape on the floor marking the camera position are the entire toolkit here.
Step 4: Turn the room into the light source
In a small space the walls and ceiling are closer to the product than any light you can buy, which makes them the biggest modifier you own. Bounce one strong light off a white wall or ceiling instead of pointing three small lights at the product, and the shadows soften immediately because the effective source is now several metres wide.
Two cautions that specifically bite in small rooms:
- Coloured walls dye the product. A beige workshop wall will push a grey fabric sofa warm, and the buyer who receives "grey" will open a colour dispute. Bounce off white boards, not off whatever the wall happens to be.
- Window light plus ceiling fluorescents equals two different colour temperatures in one frame, which no white balance setting fully corrects. Kill one of them.
Step 5: Shoot the frame set, not "a photo"
A large SKU needs a planned set. Shooting it as one heroic wide frame is what forces the impossible distance in the first place.
| Frame | What it is for | Room needed |
|---|---|---|
| Square-on hero | The listing main image, 85% fill, plain background | The full working distance |
| Three-quarter angle | Shows depth and profile | Slightly less than the hero |
| Dimension frame | The annotated spec view with real measurements | Same as hero, shot once |
| Detail crops | Joints, hardware, fabric weave, edge finish | Under 1 m |
| Scale frame | Product with a known reference object or in-room context | Whatever fits |
Only two of those five need the long distance. Plan the other three for the corner of the room while the set is still up.
Step 6: Budget your pixels before you crop
Cropping is the small-room tax, and it is cheaper than it feels. A 24 MP frame is 6,000 px wide, and Amazon needs 1,600 px on the longest side to switch on zoom. You can crop to about 27% of the frame width and still clear that threshold. So a slightly-too-wide frame shot at 50 mm and cropped beats a too-close frame shot at 24 mm, every time — you lose pixels you can spare and keep geometry you cannot fix later.
Step 7: When the room is genuinely too short
There are three honest options for how to photograph large furniture in a small space that simply will not stretch, in the order I would try them:
- Move the shoot, not the lens. A loading bay, a corridor, a stairwell landing or the yard on an overcast morning will beat a cramped studio. Overcast daylight is a softbox the size of the sky, and it costs nothing.
- Shoot flat items in sections and stitch. For doors, panels, worktops and tabletops, shoot straight-on from a fixed distance, slide the camera parallel to the surface, keep exposure and focus locked, and stitch. This works because the surface is flat; it does not work on a sofa.
- Stop asking the photo to carry the size. This is the one most suppliers skip. A wide hero shot is the worst possible place to communicate dimensions, because the same lens that squeezed the product into the frame also distorted its proportions.
That third point is the real fix for a small room, and it changes what you need from the shot. Instead of relying on the frame to convey scale, take one clean square-on frame at the longest focal length that fits and lock the actual measured dimensions onto it — snap each measurement to the product's real edge so the number on the image matches the number on the tape, then export at the size each marketplace or catalogue template expects. Measured annotation and an AI-generated product render are not the same tool: the render invents a plausible-looking number, the annotation reports the one you measured. For furniture that difference is the gap between a smooth delivery and a doorway that the sofa does not pass through.
If you want to see how the finished output is put together, the furniture spec diagram format shows which dimensions buyers expect on the image, and the standard sofa dimensions reference gives you the ranges to sanity-check your own numbers against before publishing.
Pre-shoot checklist for photographing large furniture in a small space
- Longest clear run in the room measured, not estimated
- Working distance calculated: product width ÷ 0.85 × focal length ÷ 36 mm
- Focal length is the longest the room allows, and at least 35 mm equivalent
- Camera height set at one-third to one-half of product height, sensor plane vertical
- Camera square to the product's front face; floor tape marks the position
- One bounced light source, one colour temperature in the room
- White bounce surfaces, not coloured walls
- Frame set planned: hero, three-quarter, dimension frame, details, scale
- Final crop leaves at least 1,600 px on the longest side
- Measured dimensions recorded on paper during the shoot, not guessed afterwards
FAQ
What focal length should I use for furniture photography?
Between 35 mm and 85 mm equivalent, and as close to the long end as the room allows. Below 35 mm the near-to-far distance difference across a large piece becomes visible as mismatched proportions; above 85 mm you usually run out of room before you run out of quality. Our step-by-step guide to how to photograph furniture covers the rest of the setup once the lens question is settled.
How far away do I need to be to photograph a sofa?
For a 2.2 m sofa filling 85% of a horizontal frame: about 1.7 m at 24 mm, 2.5 m at 35 mm, 3.6 m at 50 mm and 6.1 m at 85 mm, on a full-frame body. Add the sofa's depth and roughly 0.7 m behind the camera to get the room length you actually need.
Can I use a wide-angle lens if the room is small?
You can, and the product will be in the frame — but the proportions will be wrong, and that is the one error no editing pass repairs. If a wide lens is unavoidable, treat that frame as a context shot rather than the main image, and carry the size information on an annotated dimension frame instead.
How do I show the size of a large product when I can't back up far enough?
Stop trying to make the photograph do it. Shoot the cleanest square-on frame the room allows, then put the measured dimensions directly onto that image — width, depth, height, seat height, and the doorway-critical diagonal — as labelled callouts snapped to the product's real edges. A buyer reading numbers on the image does not need to judge scale from perspective, which is exactly the judgement a cramped room makes unreliable. It is also the version a distributor can forward into a quotation without re-shooting anything.
Does shooting in portrait orientation change the distance I need?
Yes, by about 1.5×. Portrait framing uses the sensor's 24 mm dimension instead of its 36 mm dimension, so a tall wardrobe needs half again as much room as the same measurement shot horizontally. It is the most common reason a shoot that was planned on paper fails on the day.