
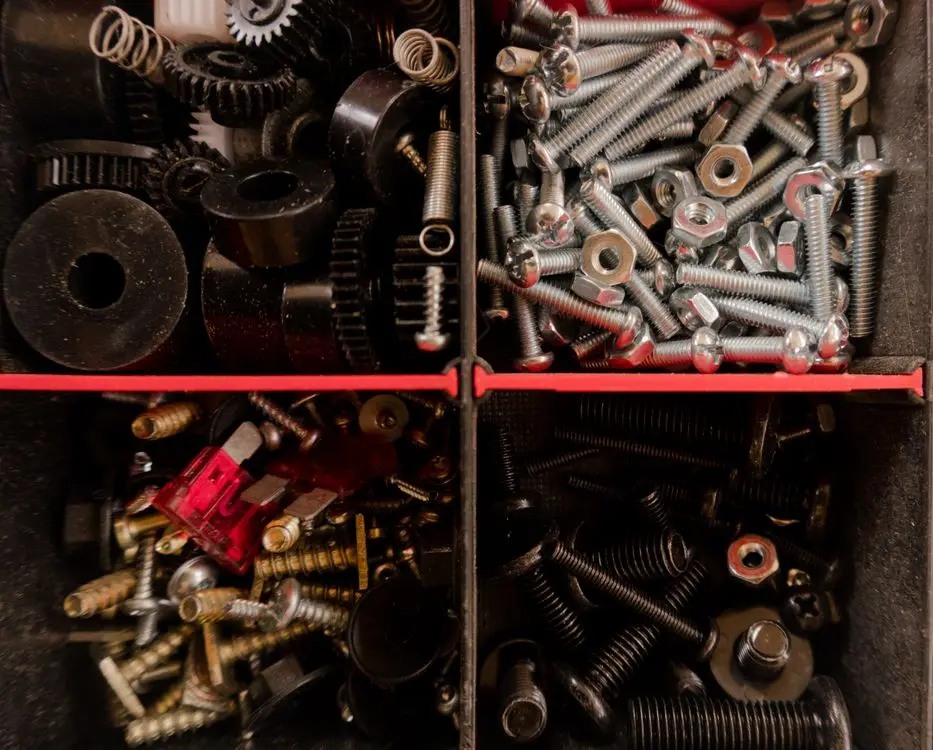
How to photograph small parts is a scale problem before it is a lighting problem. Shoot a 12 mm hydraulic fitting the way you shoot a sofa and you get a technically clean image that answers nothing: the part fills the frame, the thread looks chunky, and nothing in the picture says whether it is a keyring charm or a coupling. So the buyer messages you asking for the size, which is the exact question the photo was supposed to close.
This is the working order for anything small enough that the camera has to come in close: fasteners, fittings, bearings, connectors, hinges, casters, hardware kits. Five questions, in the order they actually bite on a shoot day.
Why does a small part look like nothing in the frame?
Because the two things you are being asked to do fight each other.
Marketplaces want the product big. Amazon's image requirements ask that the product fill at least 85% of the image frame, and Walmart's item image guidelines tell sellers to crop the item as close as possible to the frame and avoid excessive background space.
Scale perception wants the opposite. A photograph carries no size information on its own — a viewer infers size only from something else in the frame whose size they already know. Crop to 85% fill and you have deleted every one of those references. An 8 mm grub screw and an 80 mm eye bolt, both cropped to fill, produce the same picture.
Then the listing shrinks it again. Work from the University of Cambridge's Inclusive Design Toolkit puts the typical smartphone product thumbnail at roughly 16 x 16 mm — about a fingernail. At that size the buyer is not studying your knurling. They are deciding whether to tap.
So the first decision on a small-parts shoot is not aperture. It is: where does the size information live, once it can no longer live in the background?
How to photograph small parts when depth of field is under 2 mm
Depth of field is the slice of the subject, measured along the lens axis, that renders acceptably sharp. In close-up work it collapses fast, because it falls away with the square of magnification.
Real numbers, from Zerene Systems' published depth-of-field estimates for macro and micro work. Their table is derived from a wave-optics criterion — no more than a quarter-wavelength of wavefront error at the worst focus distance — rather than the older circle-of-confusion convention, so the values are conservative:
| Magnification | f/5.6 | f/8 | f/11 | f/16 |
|---|---|---|---|---|
| 0.5x | 0.62 mm | 1.3 mm | 2.4 mm | 5.1 mm |
| 1.0x | 0.28 mm | 0.56 mm | 1.1 mm | 2.3 mm |
| 2.0x | 0.16 mm | 0.32 mm | 0.60 mm | 1.3 mm |
Read the 1.0x row against a real part. An M8 hex nut is about 6.5 mm tall. At 1:1 and f/11 you have 1.1 mm of sharp depth. Six and a half millimetres of nut, one millimetre of it sharp.
The instinct is to stop down to f/22. That is the trap. At magnification m, a lens behaves optically like a smaller aperture: the effective f-number is N x (1 + m). At 1:1 and a marked f/16, light is passing an effective f/32, and diffraction is now softening the whole frame, including the part you were trying to rescue.
Two fixes, and the one people skip is the first one.
Back off the magnification and work backwards from the export size. You almost never need 1:1. Decide the delivered pixel width first. On a 24-megapixel full-frame body, 6,000 pixels span a 36 mm sensor — about 167 pixels per millimetre at 1:1. If you want 1,600 pixels across a 20 mm part, you need roughly 80 px/mm, which is about 0.5x. Look at the table again: 0.5x at f/11 gives 2.4 mm of depth instead of 1.1 mm. Same delivered image, double the sharp zone, no stacking.
Focus stack only when the part is genuinely deep. A connector body 20 mm deep will not come into focus in one frame at any usable aperture. Shoot a series, moving focus in steps no larger than the depth-of-field value in the table for your magnification and aperture, then merge. Step wider than that number and you get banding — soft rings where two frames failed to overlap.
Field call: for hardware and fittings under about 25 mm, 0.4x to 0.6x at f/8 to f/11 on a tripod covers the large majority of listing shots. Reach for stacking because the part is deep, not because the part is small.
Can you put a coin or a ruler next to it for scale?
Not in the main image, and probably not anywhere.
Amazon's main image rules are explicit that the main image shows the product being sold, without props or accessories that are not part of the purchase. A coin is a prop. So is a ruler, a hand, and a "for scale" caption card. Adding one is how a listing gets suppressed, not how it gets clearer.
The comparison worth knowing is how the archival world handles the same problem, because they solved it — differently. The Smithsonian's 3D metadata model records a physical scale bar as its own object, with target pairs and the known distance between those targets stored alongside the capture data. FADGI's Technical Guidelines for Digitizing Cultural Heritage Materials go further and make scale a file-level requirement: the resolution value has to be present in the image header, and the guidelines state that if that information is missing, the image is not FADGI compliant.
Those systems work because the archive controls the viewer. A researcher opens the file with the metadata attached and a calibrated bar in frame.
You have none of that. Your viewer is a buyer on a phone, looking at a 16 mm tile, in a market that may not use your coin. A US quarter is 24.26 mm across, a 2-euro coin is 25.75 mm, a 1-yuan coin is 25 mm. Three references within a millimetre and a half of each other, and a buyer with no way to tell which one you used. A ruler is worse in one specific way: fine markings are the first thing compression and downscaling destroy.
There is also a geometry problem. A reference object only reads correctly when it sits in the same focal plane as the feature it is implying. Move it 5 mm forward on a shot that has 2 mm of depth and it is both soft and, thanks to perspective distortion in product photos, the wrong size relative to the part.
The clean answer: keep the main image a bare product shot at 85% fill, and carry the size in the secondary images — the slots where every major marketplace permits annotation — as labelled dimensions rather than borrowed objects.
How do you light a 12 mm part without losing its edges?
Small parts are usually metal, which means specular, and at close range light behaves differently from what your furniture set taught you.
Softness is controlled by relative light size — the size of the source as seen from the subject. A 60 cm softbox one metre from a sofa is a modest source. The same softbox 30 cm from a 12 mm fitting is enormous relative to the subject, and the result is a part with no edge: an even grey shape where the silhouette should be.
That matters more than it sounds, because the silhouette is what a dimension callout has to attach to. If the outline of the part dissolves into the background, nobody — human or software — can say where the part ends and the backdrop begins.
Corrections, in the order to try them:
- Put a black card just outside the frame on one side (negative fill) to rebuild the shadow edge.
- Move the key light further away and let it become relatively smaller, instead of diffusing it more.
- Shoot against a background a stop or two away from the part's tone rather than pure white. You can clean it later, and it keeps the edge readable while you work.
- Use a longer macro focal length. At the same magnification, a 90-105 mm macro gives markedly more working distance than a 50 mm, which is the difference between fitting a light between lens and part and shading the subject with your own lens barrel.
The rest of the specular playbook — angle of incidence, gradient panels, killing your own reflection in a chrome face — is in how to photograph reflective metal products.
What does the buyer actually do with the photo?
They compare it to something on their bench. Nearly every question you get about a small part is a fit question wearing a photography costume: will this thread mate with mine, will this hinge cup drop into my 35 mm bore, is this caster's bolt pattern the one already on my frame.
A sharp, well-lit macro shot answers none of those. A number does.
Which is why the last step of a small-parts shoot is not retouching. It is putting the measured dimensions onto the image: across the thread major diameter, across the hex, overall length, hole centres. Two properties decide whether that helps or hurts. The measurement has to come from the geometry of the object actually in the frame — snapped to the real edges of the part, at the capture scale you recorded — not typed on by eye from a memory of the drawing. And the export has to land at each destination's required pixel size, so the callouts survive the platform's own downscale instead of turning to mush. That is a different operation from restyling a photo: an image generator will happily letter a confident "12 mm" onto a part that measures 14, and the buyer finds out at assembly.
If you sell fittings, fasteners or hardware into industrial channels, the format buyers file and forward is the industrial spec diagram, not the bare product shot.
The small-parts shot list
Run this before the set comes down.
- Delivered pixel width decided before magnification is set (px/mm x part width >= target pixels)
- Magnification kept at or below 0.6x unless the part genuinely demands more
- Aperture chosen from the depth-of-field table, not from habit; effective f-number checked as N x (1 + m)
- Focus-stack step size no larger than the depth-of-field value for that magnification and aperture
- Main image: product only — no coin, no ruler, no hand — at 85% frame fill
- Edge of the part clearly readable against the background at 100% view
- Part still identifiable at 16 x 16 mm; check it on a phone, not on the monitor
- Secondary image carries measured dimensions with units, in millimetres and inches for US buyers
- Exported at each channel's required pixel size rather than one file left for the platform to resize
- Capture scale (px/mm) written into the shoot notes so the next batch matches this one
FAQ
How do you photograph small parts so buyers understand the size?
Put the number in the image. Shoot the main image clean at 85% frame fill to satisfy marketplace rules, then use a secondary image carrying measured dimension callouts — thread diameter, hex size, overall length, hole centres — in both millimetres and inches. Physical scale references such as coins are not allowed in Amazon main images and are ambiguous across markets in any case.
What f-stop is best for small parts photography?
For most hardware between 5 mm and 25 mm, f/8 to f/11 at 0.4x to 0.6x magnification. That combination yields roughly 1.3 to 2.4 mm of depth of field before diffraction becomes the limiting factor. Remember that the effective f-number is N x (1 + m), so a marked f/16 at 1:1 is behaving like f/32.
Is focus stacking necessary for product photos?
Only when the part is deep along the lens axis relative to the depth of field available. A flat washer never needs it; a 20 mm-deep connector shot at 1:1 always will. The cheaper first move is to reduce magnification and crop, because depth of field grows faster as magnification drops than it does as you stop down.
Can I use a coin for scale in an Amazon main image?
No. Amazon's image requirements state that the main image shows only the product being sold, without props or items not included in the purchase. Scale information belongs in the secondary images, and a labelled dimension works better than a coin because it does not depend on the buyer recognising your currency.
What resolution do I need to photograph a 10 mm part?
Work backwards from the delivery size. To put 1,600 pixels across a 10 mm part you need 160 pixels per millimetre at the sensor, which is close to 1:1 on a 24-megapixel full-frame body. If 1,000 pixels across the part is enough for your channel, about 0.6x will do it, and it buys you roughly twice the depth of field.
Sources & References
- Amazon Seller Central — Product image requirements: 85% frame fill, main-image content rules and pixel thresholds
- Walmart Marketplace Learn — Item image guidelines: crop close to the frame, 500 x 500 minimum, 2000 x 2000 for zoom
- Zerene Systems — Depth of field estimates for macro and micro photography, with focus step sizes by magnification and f-number
- Nikon MicroscopyU — Depth of field and depth of focus: why depth shrinks as aperture and magnification rise
- FADGI — Technical Guidelines for Digitizing Cultural Heritage Materials: reproduction scale accuracy and the resolution value in the file header
- Smithsonian Institution — 3D Metadata Model overview: physical scale bar records and scale bar target pairs
- University of Cambridge Inclusive Design Toolkit — Displaying images on mobiles at the best possible size: 16 x 16 mm on a smartphone